Printing my pineapples with Woven Monkey

Are you ready for the next instalment in my ‘behind the scenes of the pineapple skirt’ series? Yes? Fantastic! I’m lucky enough to live just a few miles away from Woven Monkey, which is the fab company that prints my fabric. So on a sunny Friday in July I headed over there with Charlie, who you’ll hopefully remember as my very talented friend who bakes delicious macarons and, possibly more importantly, painted the original pineapple that now adorns my skirts! She’s also just opened her own shop selling cards and prints of her original paintings - you can find it here if you’d like a look.
After accidentally taking a scenic detour of the area around Woven Monkey, we finally managed to find the right place and pulled up in front of the building. For two people who love fabric this trip was a dream come true, so we had to giggle excitedly behind the car before going in. We felt this was a preventative measure, so Ed (Mr Woven Monkey) wouldn’t have to endure our hysterics. You’re welcome, Ed!
It was an *incredibly* warm day, so we were really pleased when Ed offered us a particularly relevant drink, considering the theme of our fabric - pineapple juice! Once refreshed, we could get down to the serious business of printing. Ed’s brother Richard is the printing machine maestro, so he got the machine loaded up with our fabric of choice. For the pineapple design I use their cotton drill. It’s the heaviest fabric they have at 255gsm, and it’s just perfect for creating the perfect silhouette once I’ve made it into a skirt. If you want to know more about their other materials, you can pop over to this page to see all their fabrics in more detail.
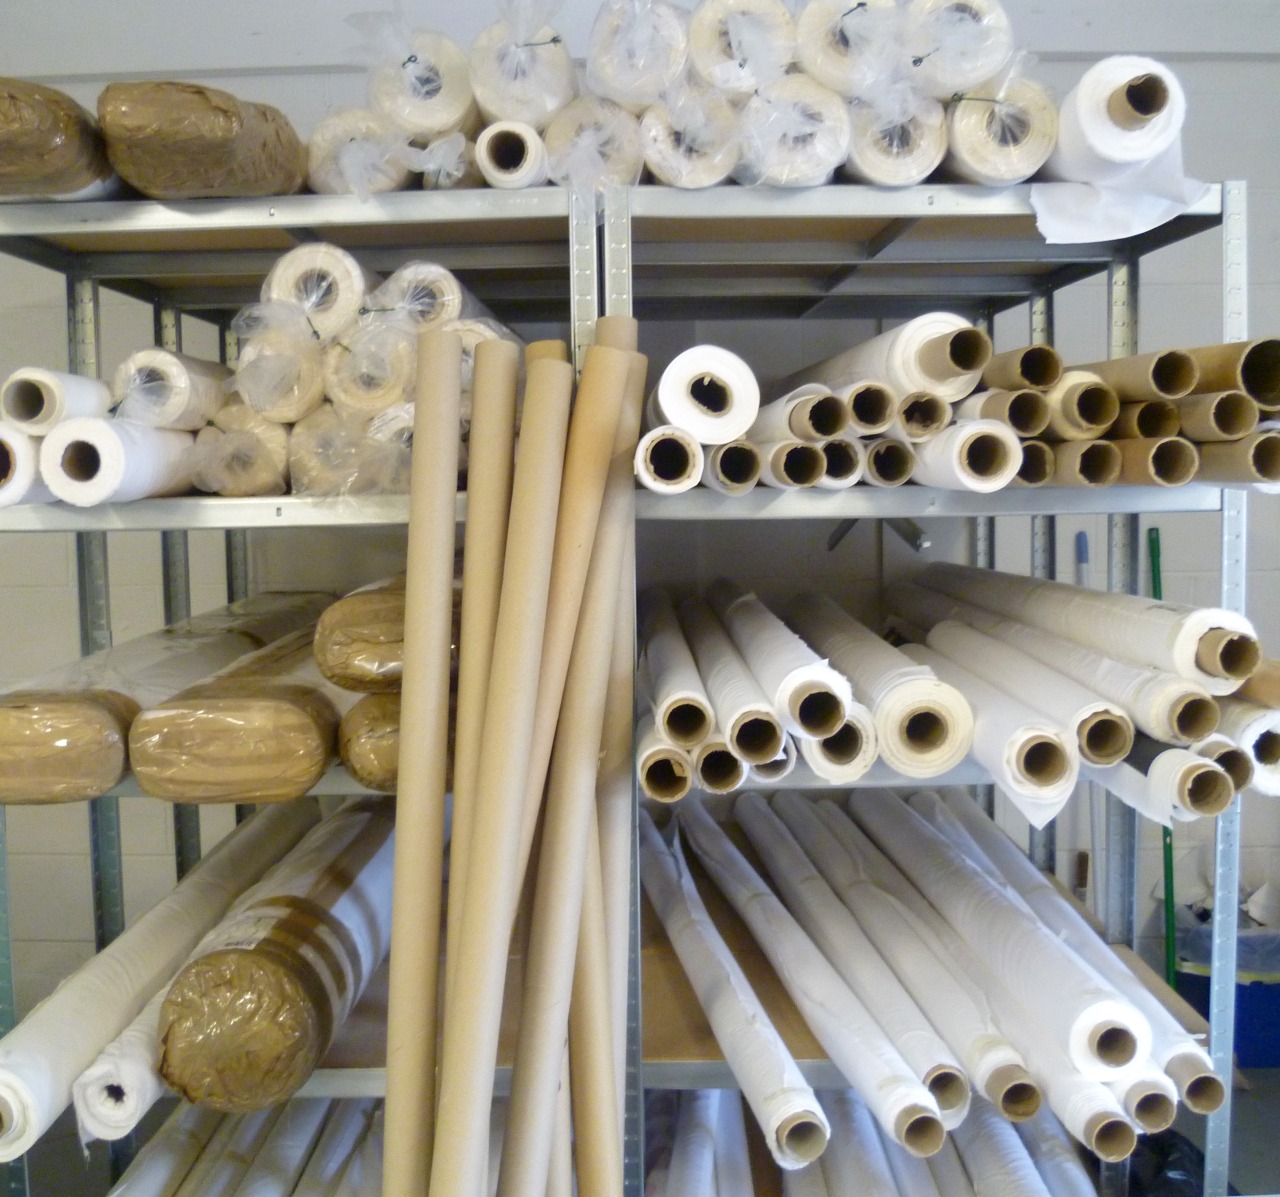
(can you imagine all the potential in these shelves of plain fabric?!)
Once the fabric had been loaded into the machine, Richard called up the digital version of our design. Each design requires a different printing speed, fabric feed speed, and amount of ink - I’d always imagined that it would be a bit like a big version of a domestic printer, with options for ‘high quality print’, ‘quick print’ etc - not true! Each parameter has to be manually tweaked to perfection, and it takes experience to look at a design and know exactly how it should be printed. Luckily for us, Ed and Richard have got this down ;-)
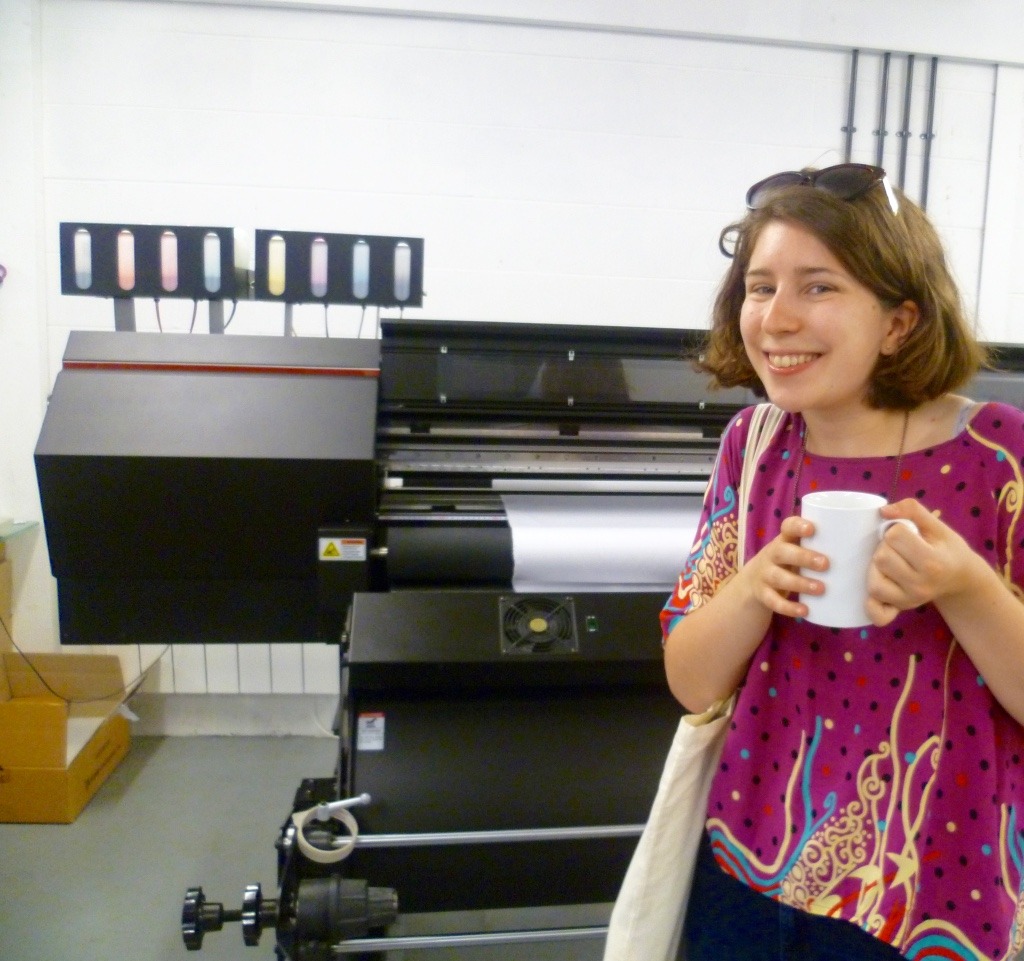
(this is me posing by one of the printers and drinking pineapple juice!)
Next it was printing time! Charlie and I were really surprised by how little time it took - we were expecting to be there for hours! As it was printing, Richard kept checking to make sure that the fabric was feeding correctly and that the built-in heaters (which help to dry the design) were up to temperature. There was still plenty of time to pose for photos though…
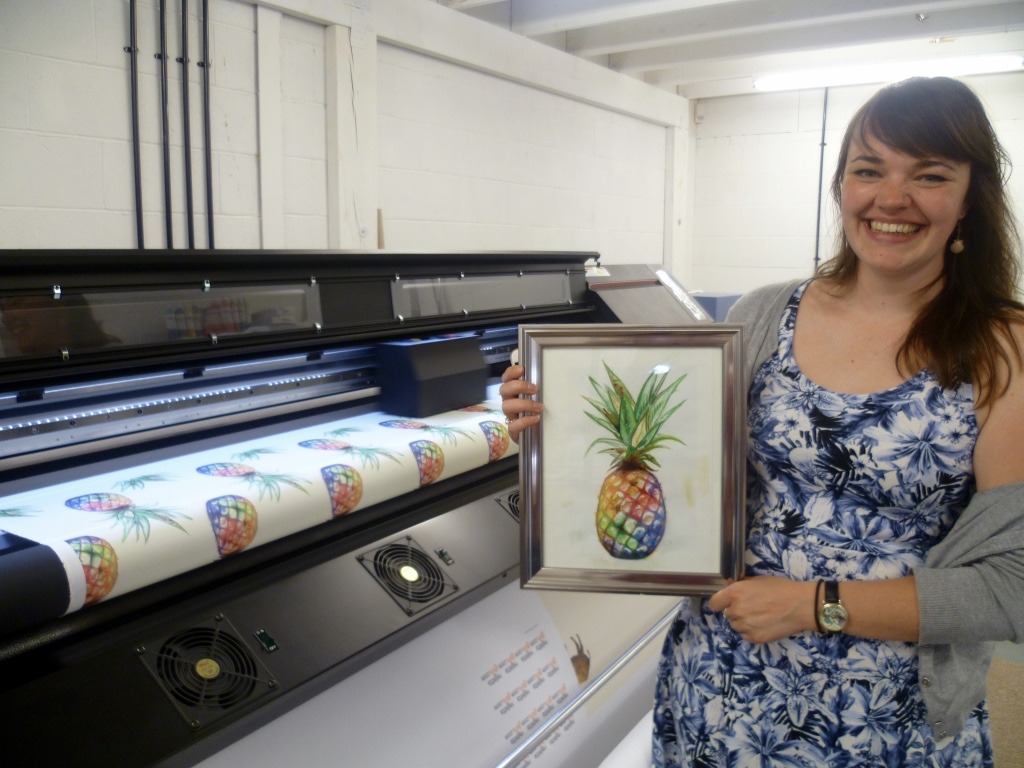
(Charlie with her original painting! Richard was really pleased to see the picture in real life, so he could check that the colours were printing accurately - and of course they were!)
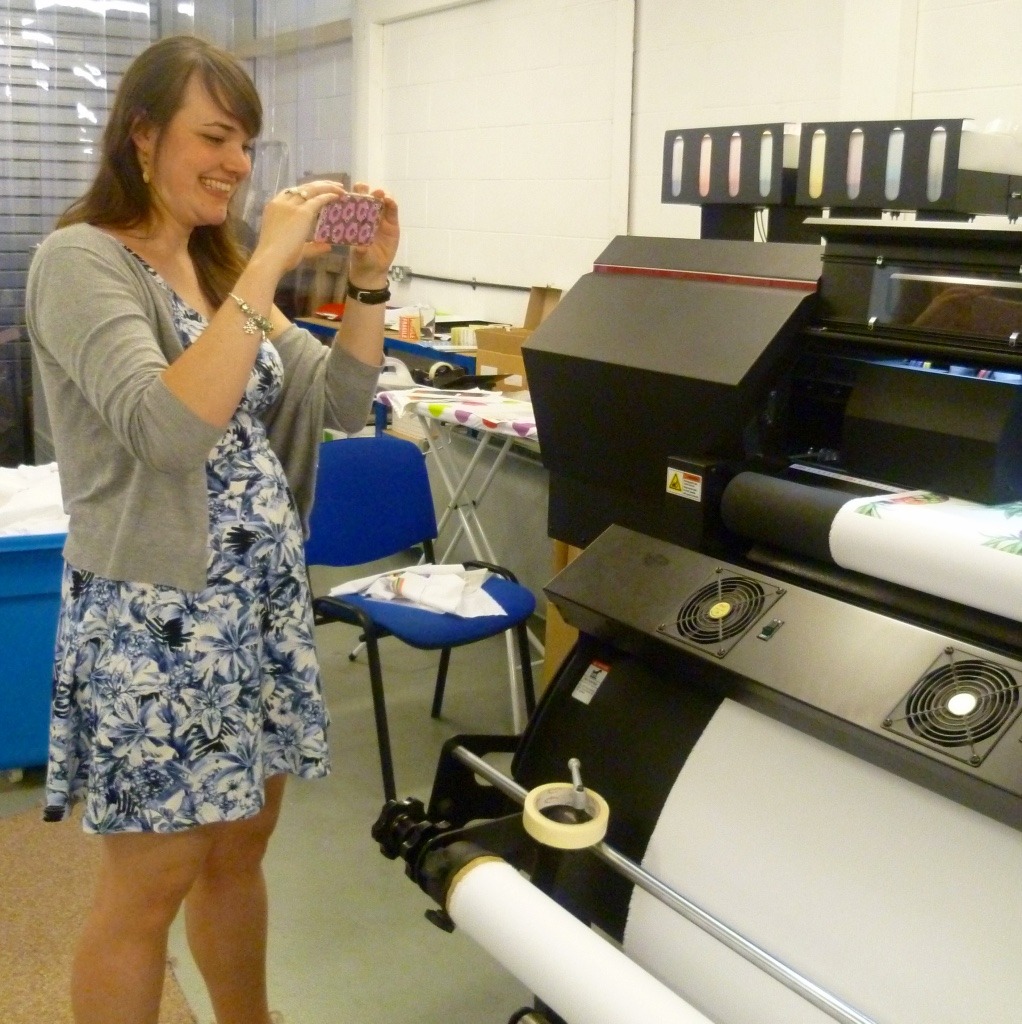
(we took SO many pictures….)
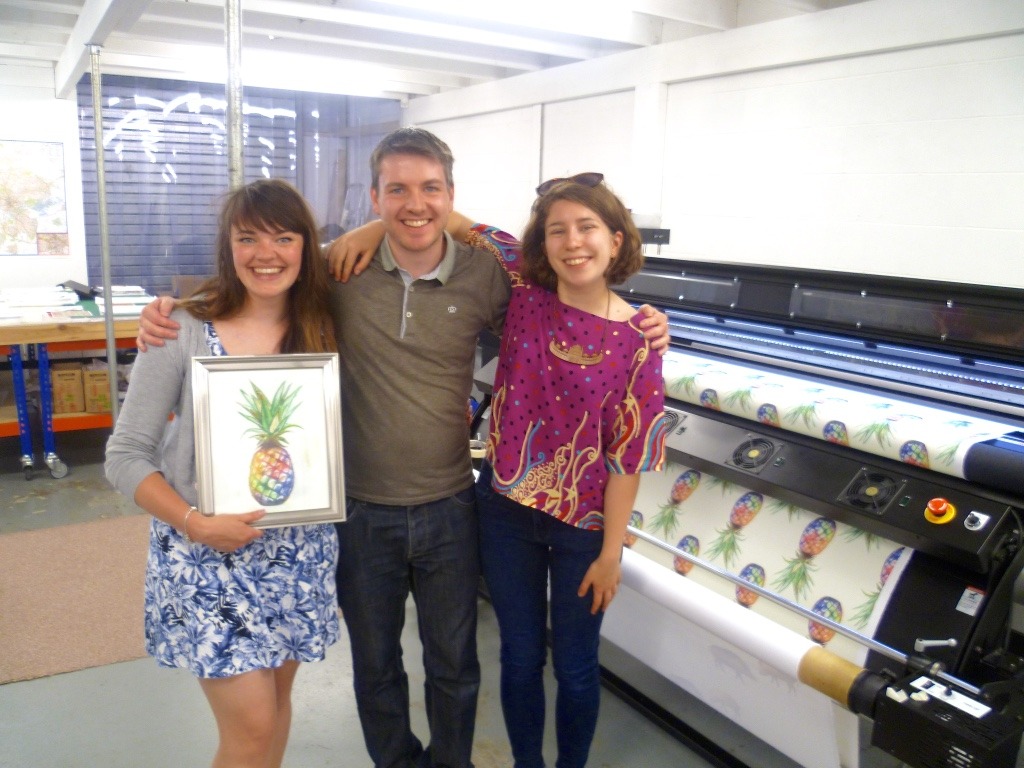
(The gang and the pineapples! L-R: Charlie, Ed, me)
After the fabric had finished printing, it was over to the cutting table. They have pretty much my dream setup; an iron and ironing board permanently erected (for ironing samples before they’re sent out to customers) and a HUGE cutting table lined with self-healing mats! There’s even a space at the end of the table so you can slot your roll of fabric onto a bar, so you can roll out as much as you need at a time. Oh, and a map of the local area, just in case!
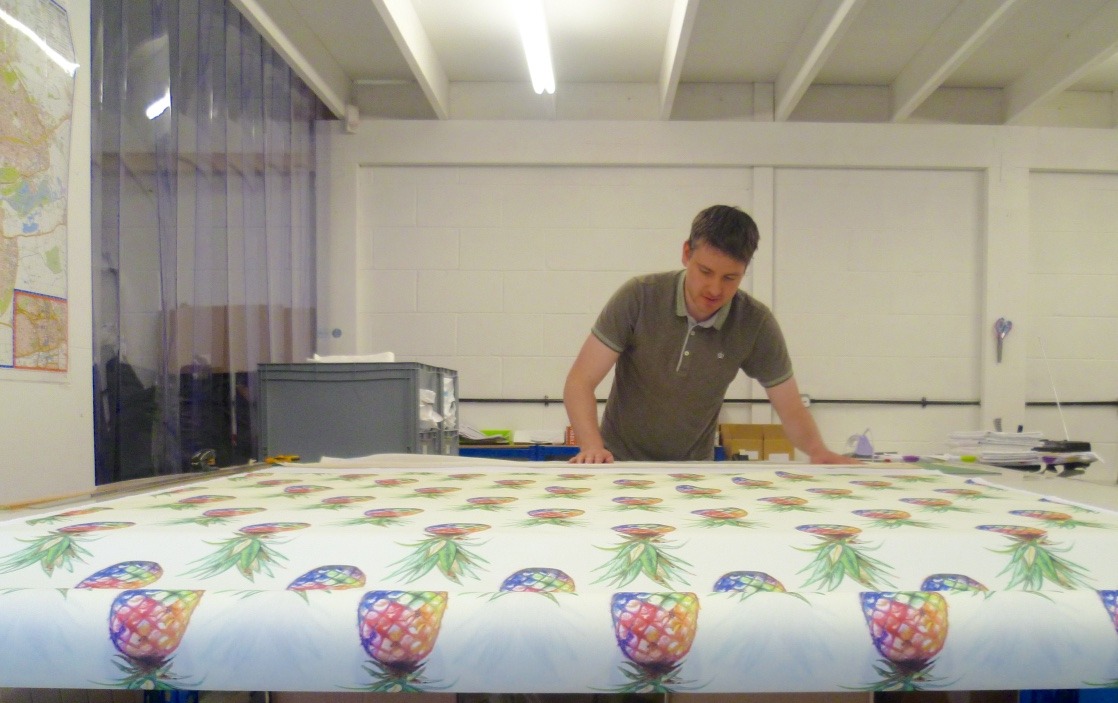
(here’s Ed prepping my fabric for the next step: heat fixing!)
To make every design extra colour-fast, the fabric has to go through another machine, which I’m assured is really just a big oven. Considering how hot the weather was that day I’m fairly sure it didn’t need it(!), but Ed thought otherwise so through it went. There wasn’t much to see from above, but Charlie and I found that if you crouched down really low you could see the fabric feeding in and out. Look how much Charlie loved this step!
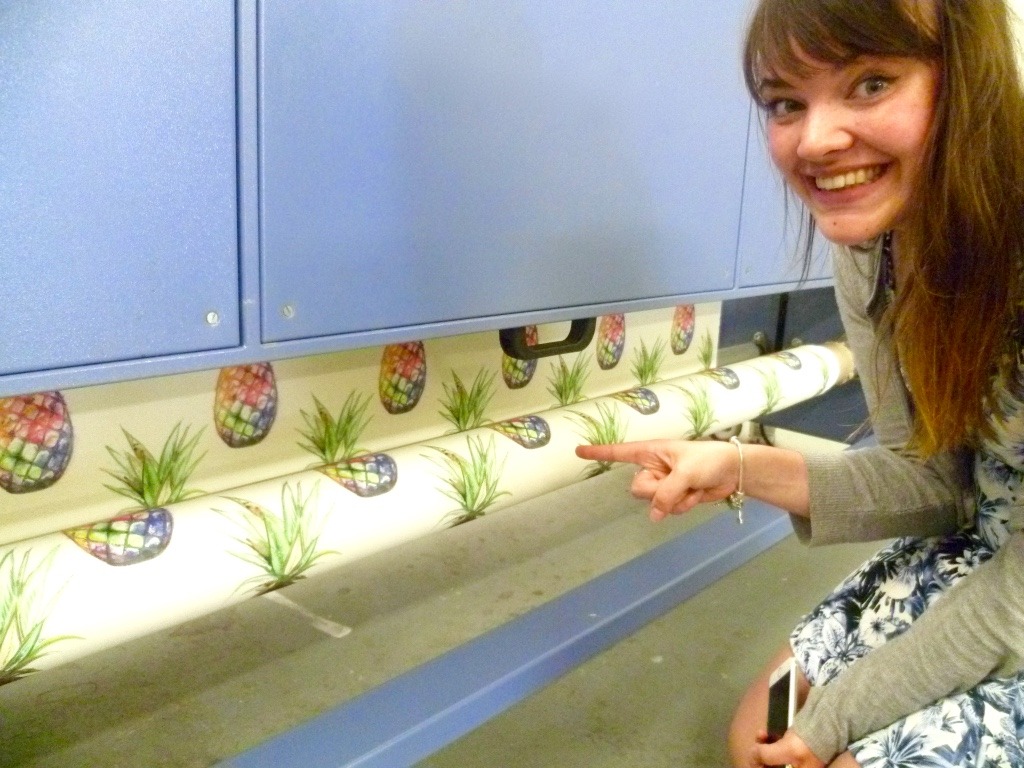
(Charlie and the heater!)
Yippee! The only step left was the final fabric cutting and quality check! This took us back to the table, which gave Ed and I the opportunity to pose by the fabric and pretend that we were deep in conversation about the thread count or something (96x48, if you were wondering).
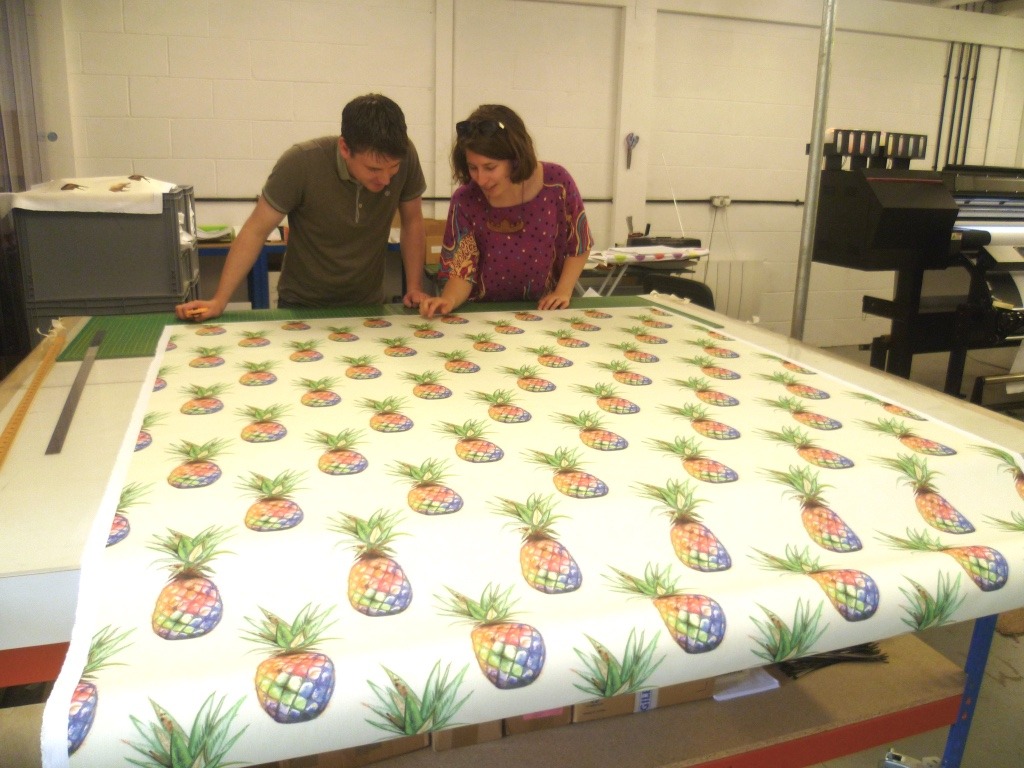
(so many pineapples!)
Before I go, I’d like to thank Ed, Richard and Tom at Woven Monkey for printing our fabric so beautifully, and for letting us come and see you in action! I really had no idea how much went into printing custom designed fabric - hopefully everyone reading this enjoyed finding out what happens after you press the ‘send’ button on your fabric designs! So, thank you for reading, and I’ll leave you with the finished product….
Becky x
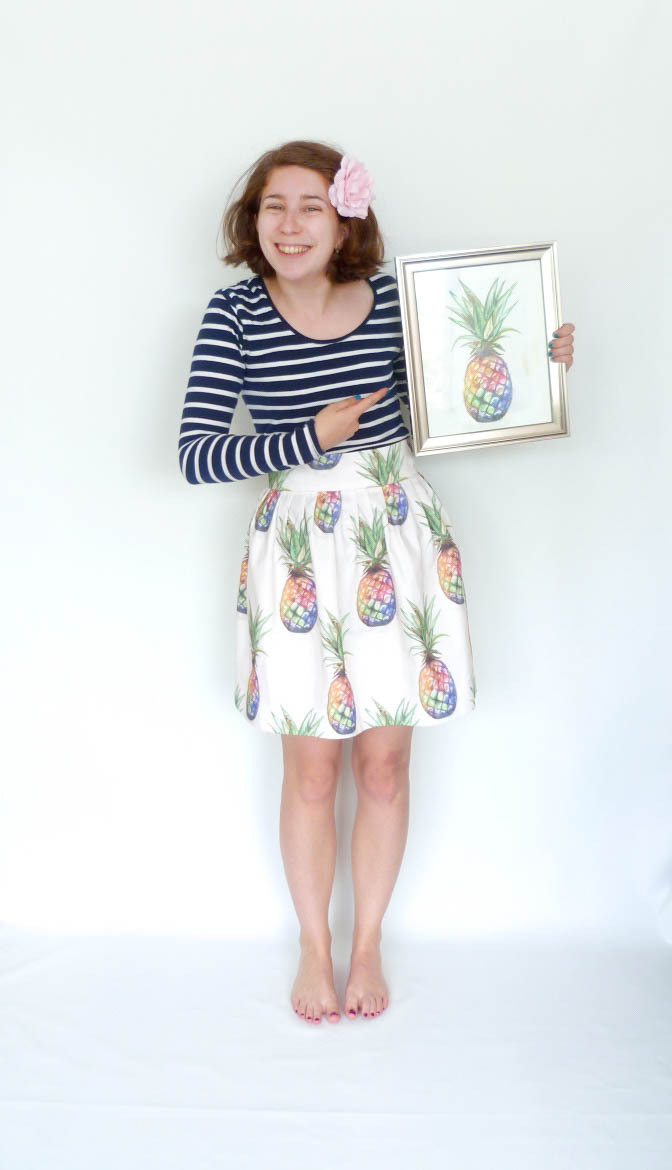
(find this skirt for sale in my Etsy shop: beckyqueenoffrocks.etsy.com)